How to Draw a Black Cat Easy
Learn how to draw a Black Cat with this easy step by step tutorial. Fill it with lots of solid black color so it looks like it could blend into the night. Scroll down to find the Black Cat Coloring page.
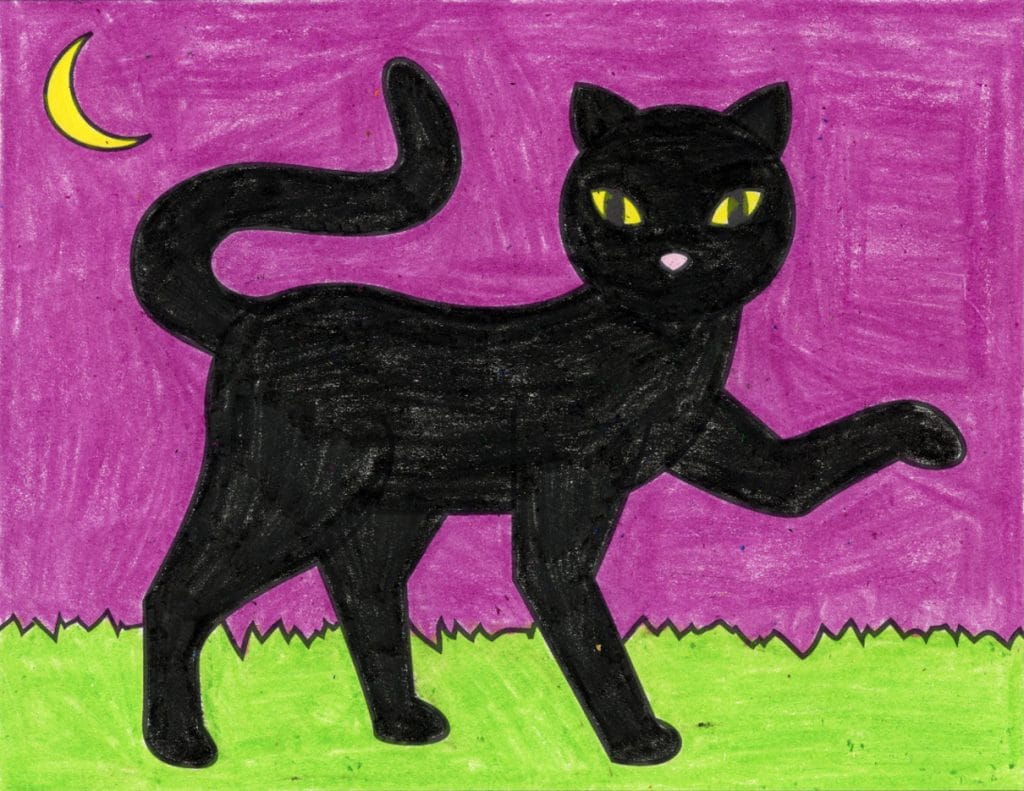
Many students are interested in learning how to draw a black cat, a popular choice this time of year. One helpful tip is that they need to think about the pose of the cat, before they start drawing. Choosing one that is sitting and has its legs tucked in might look fine for a drawing. But by the time it is colored in with a dark black, all those lines disappear and it's hard to see that it is a cat.
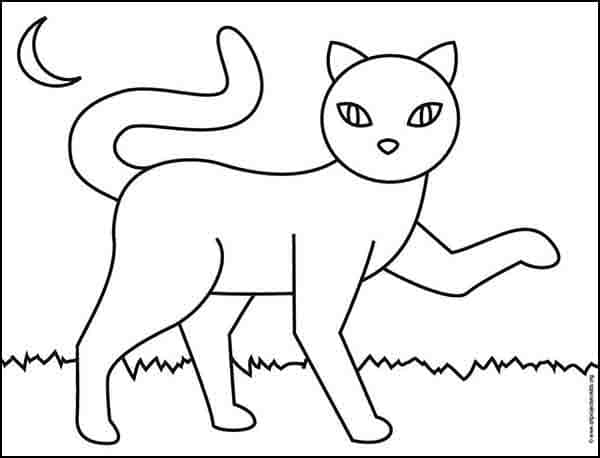
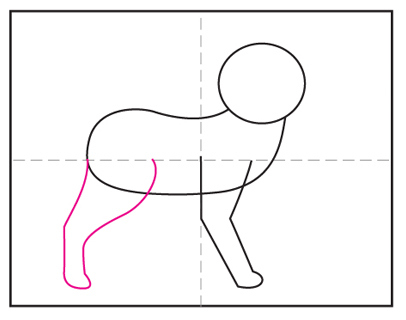
The best solution is to draw a cat that will make a good silhouette, as in this one that appears to be walking. It's easy to see the shape of every leg and tail too. It's also a good chance to make those back legs look a little more realistic as the part that turns into the hip always gets wider where it attaches.
Young artists will find this tutorial easy to do, just be sure to encourage careful coloring. A quick fill of black crayon or marker that leaves any paper showing (i.e. scribbles!) will not look as impressive as a solid black cat. That takes time, but is oh so worth it.
Getting Started with Drawing Guides
The best way to get students off to a good start to any drawing lesson is to show them how to use guides as a reference point.
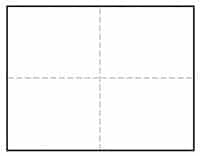
You may have noticed that all of the tutorials on this website have a dashed vertical line and horizontal line running through the center of each step. If students make theirown centered lines on theirown paper, before drawing, they will have an easy reference to follow.
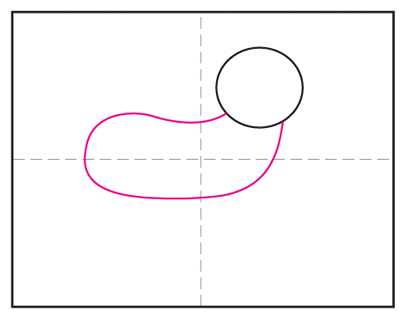
For instance, as seen in Step 1 below, this cat sketch starts with circle that is in the top right section of the paper. It's easy for students to follow when they have their own guides on their paper too.
When students get their drawing off to a good start, there's a better chance of them feeling successful by the time they are done. Drawing skills are all about getting the size and placement of lines on paper. Having some visual reference point to get started, will always help anyone learn how to be a little more accurate.
So does that mean students need to get out a ruler to draw a big line down the center of their paper before they start? No, that will most likely be hard to erase and distract from any finished art. Instead, they simply fold the sheet of paper in half both ways, make a crease, and unfold. The beauty is that by the time the drawing is done and colored in, the creases will disappear.
And now, on to the black drawing project.
Pin me to your Pinterest Board
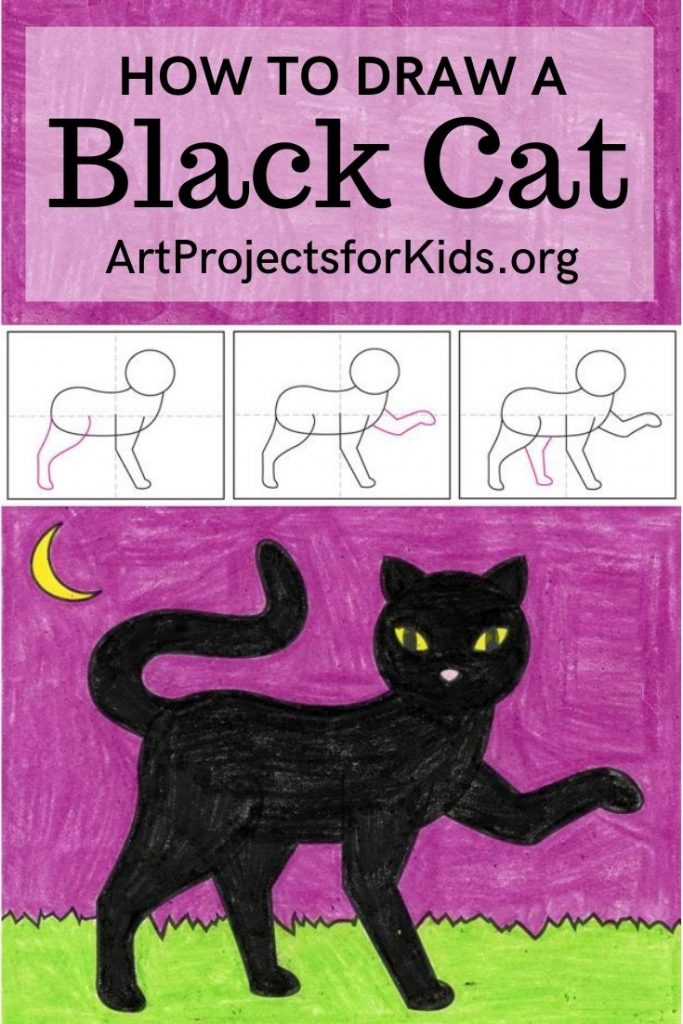
Use the Button below to Download a PDF Tutorial
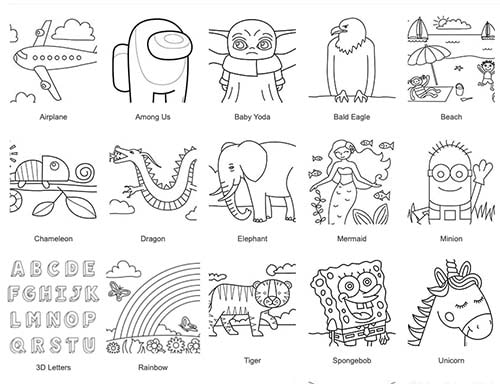
New! See my Coloring Page Gallery
Black Cat Coloring Page
Materials to Draw a Black Cat

- Black Sharpie Marker (affiliate link)
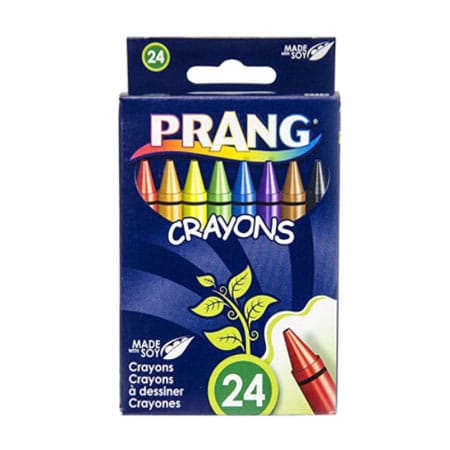
- Prang Crayons (affiliate link)
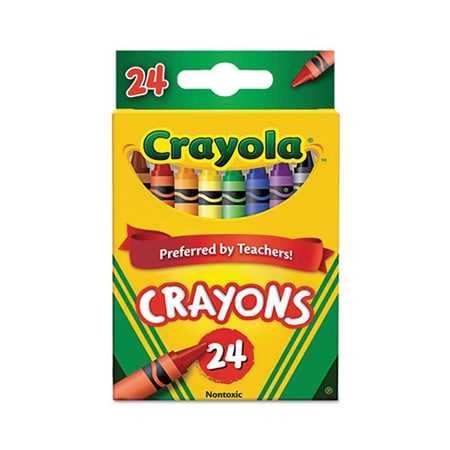
- Crayola Crayons (affiliate link)
Directions to Draw a Black Cat
Time needed:30 minutes.
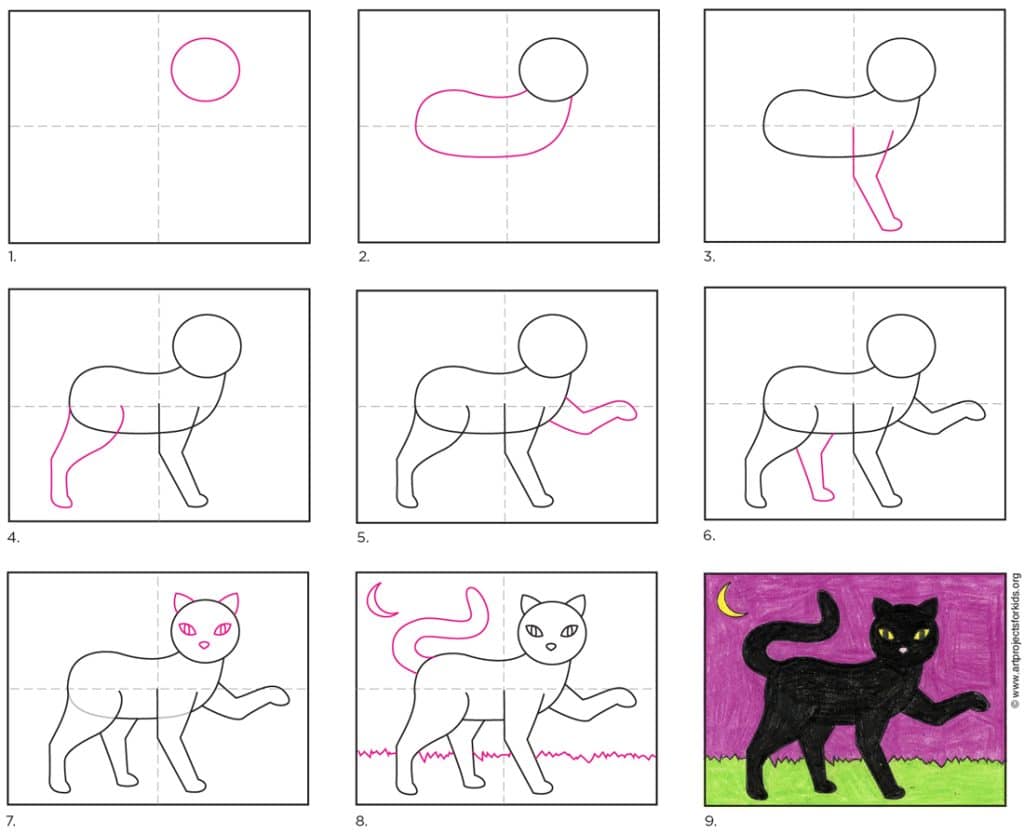
How to Draw a Black Cat Step by Step
- Draw a circle for a head.

- Add a simple body shape underneath it.
- Draw the front leg.

- Add a large black leg in the back.
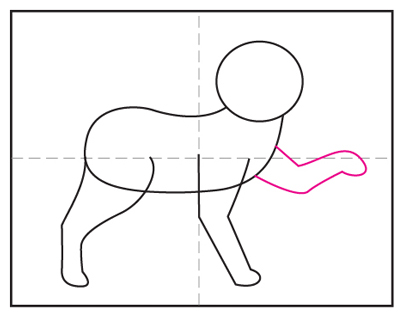
- Draw the other front leg.
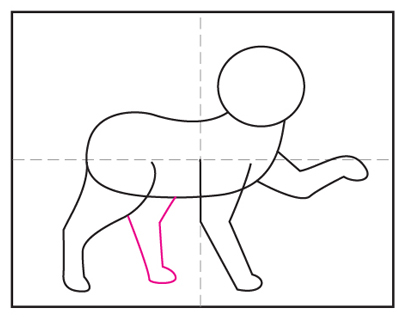
- Add the other back leg.
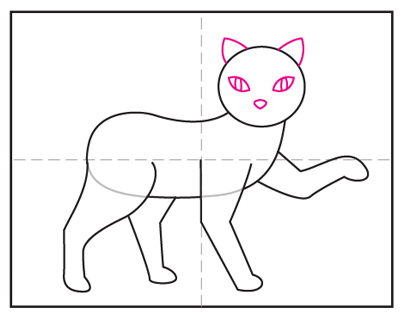
- Erase the gray lines. Draw the ears, nose and the eyes.
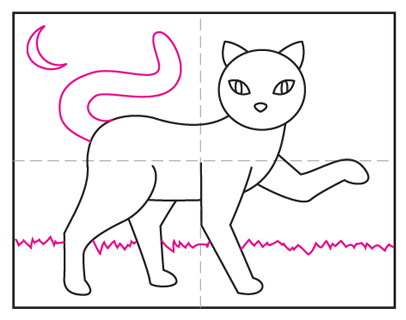
- Add a tail. Draw the grass and moon in the background.
- Trace the drawing with marker and color with crayons or markers..

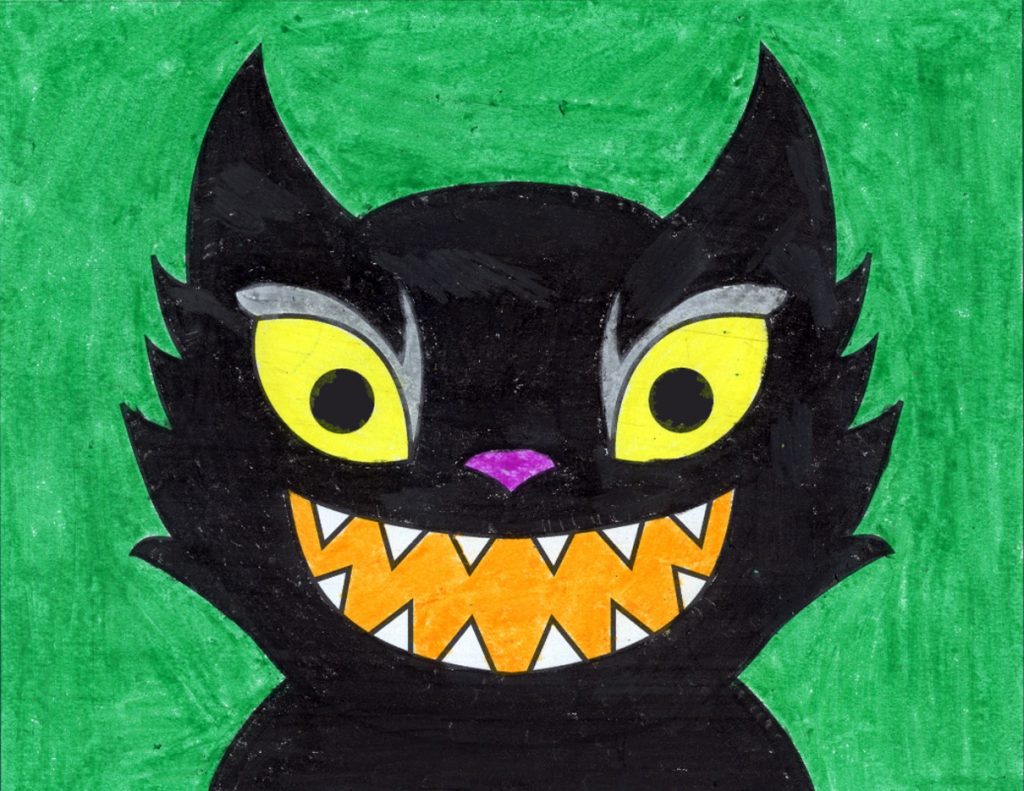
More Halloween Cat Drawing Projects

Source: https://artprojectsforkids.org/how-to-draw-a-black-cat/
0 Response to "How to Draw a Black Cat Easy"
Post a Comment